


When it comes to your motorcycle’s performance, a healthy battery and charging system are crucial components that ensure you’re always ready to hit the road. Whether you’re a seasoned rider or just starting your journey, understanding how to check and maintain these systems can save you from unexpected breakdowns and keep your adventures uninterrupted. In this guide, brought to you by SellYourUsedBike.com, we’ll walk you through the steps of checking your motorcycle’s battery and charging system, empowering you with the knowledge to keep your ride running smoothly.
1. Gather the Necessary Tools
Before you dive into the inspection, make sure you have these tools on hand:
Multimeter
Safety goggles and gloves
Wrenches or screwdrivers
Battery terminal cleaner and brush
2. Check the Battery’s Physical Condition
Safety First: Put on your gloves and safety goggles to protect yourself from any potential battery acid exposure. Visual Inspection: Examine the battery for any visible damage, leakage, or corrosion on the terminals. If you notice any of these issues, it might be time to replace the battery.
3. Testing the Battery Voltage
Set Up the Multimeter: Set your multimeter to the DC voltage mode and ensure it’s calibrated to the appropriate range for your battery (usually around 12 volts for a motorcycle battery).
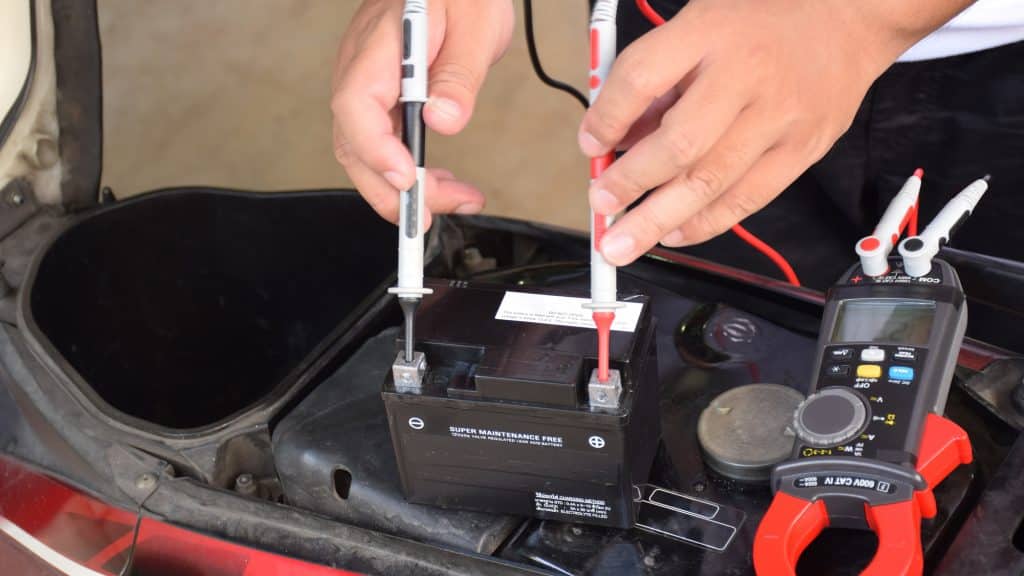
Testing Voltage: Place the multimeter’s positive (red) probe on the positive terminal and the negative (black) probe on the negative terminal. A fully charged battery should read around 12.6 to 12.8 volts. Anything significantly lower might indicate a weak or discharged battery.
4. Checking the Charging System
Start the Engine: Start your motorcycle and let it run at idle speed.
Multimeter Connection: Switch your multimeter to the AC voltage mode and connect the probes to the battery terminals again. A healthy charging system should display a voltage of around 13.5 to 14.5 volts.
5. Revving the Engine
Increase RPM: Rev the engine to around 3000 RPM while keeping an eye on the multimeter. The voltage should increase slightly, indicating that the charging system is working as intended.
6. Clean and Reassemble
Cleaning: If you found any corrosion on the battery terminals, use a battery terminal cleaner and brush to remove it. Clean terminals ensure a better connection.
Reassembly: Reconnect the battery terminals, ensuring they’re tightened securely.
Regularly checking your motorcycle’s battery and charging system is a proactive way to prevent unexpected breakdowns and ensure a smooth ride every time you hit the road. By following the steps outlined in this guide, you’ll gain the confidence and knowledge to maintain these vital components and extend the life of your motorcycle. Remember, a well-maintained bike is a reliable and trustworthy companion on all your adventures.
For more motorcycle maintenance tips and expert advice, visit SellYourUsedBike.com. Your journey is our passion.